Current v2 workflow
BatteryBee product guide
BatteryBee designs custom cylindrical-cell packs around a real envelope: draw the footprint, choose cells and targets, reserve packaging space, wire series lanes, configure busbars, and export fabrication files.
Recommended order
- Open My Designs and create or duplicate a project.
- Set targets and cell type from the top bar before judging capacity, voltage, or fit.
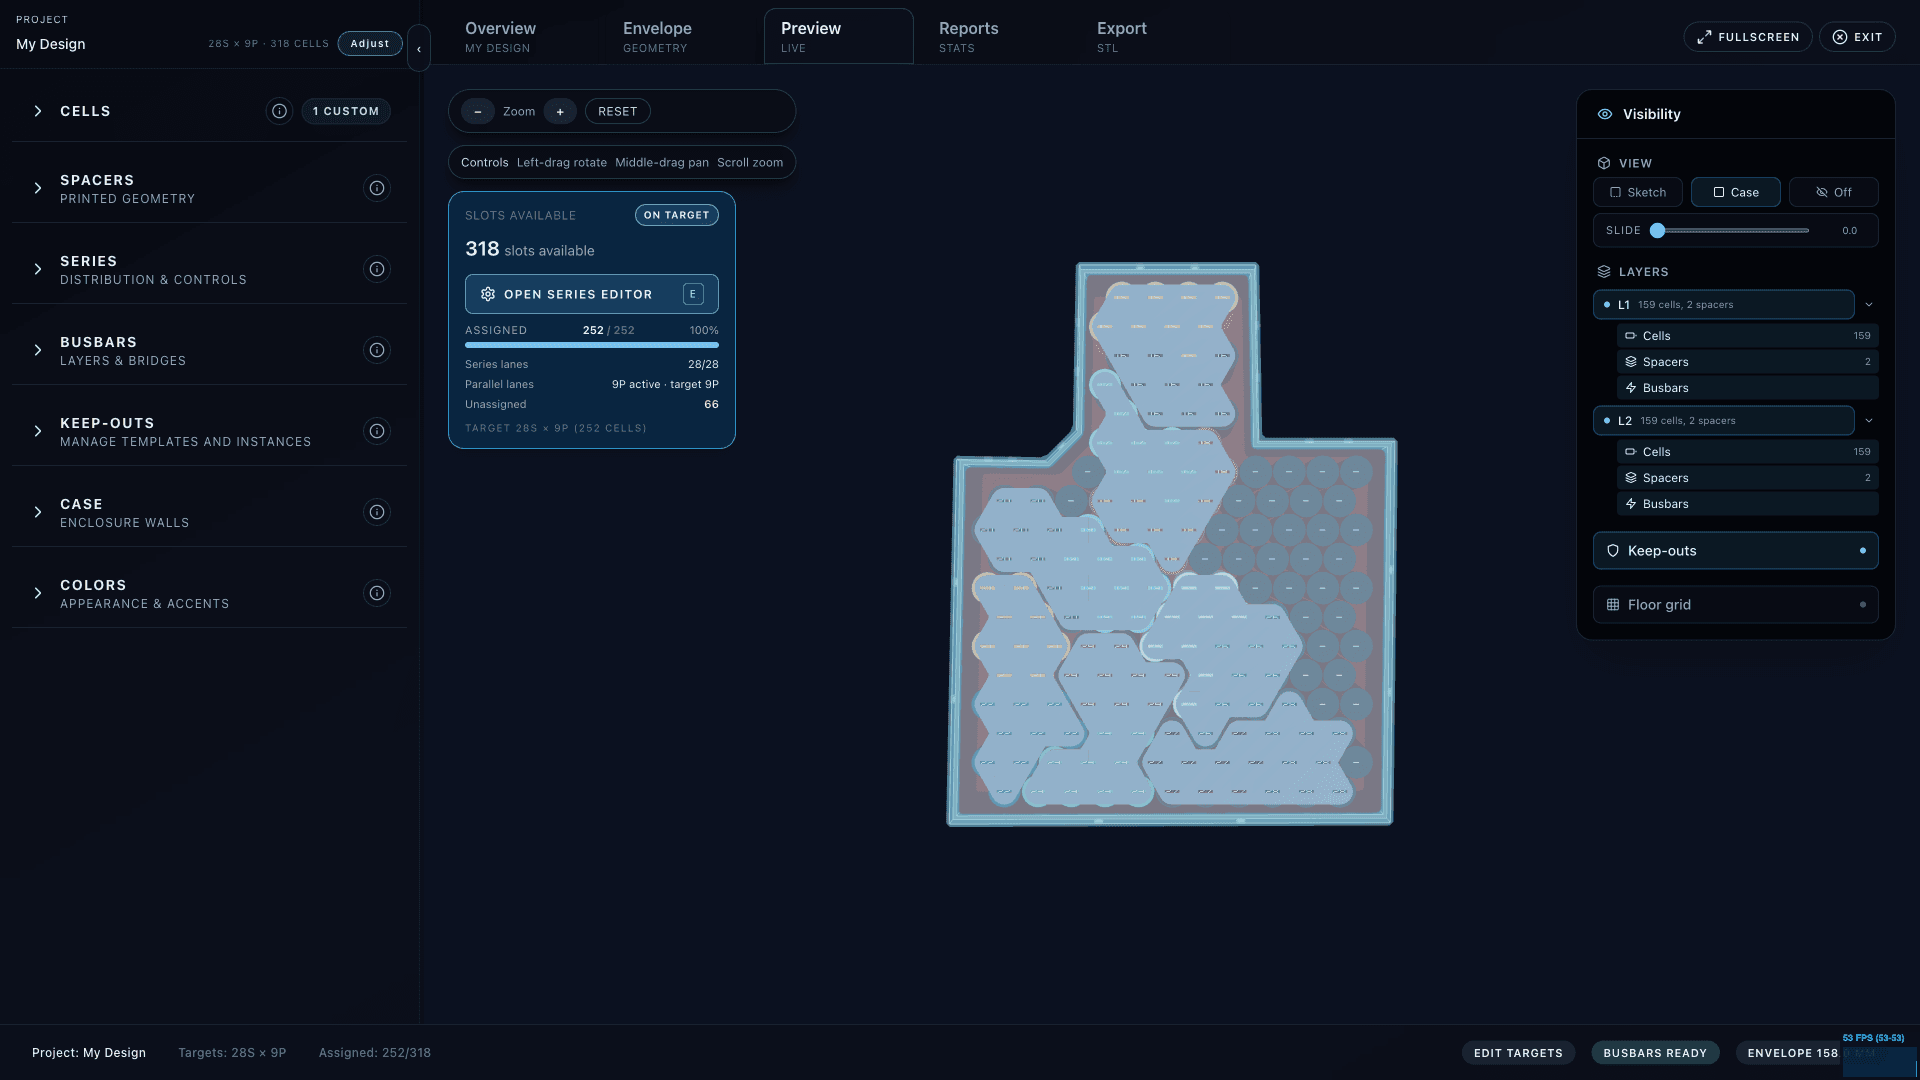
- Use Geometry to match the real footprint and depth, then check how many cell slots are available.
- Configure the Case tab before wiring if keep-outs, panels, mounts, or imported reference parts may remove cells.
- Use Layout & Spacers to tune packing and printed support parts.
- Paint Series lanes, resolve stats warnings, then lock the series assignment.
- Configure Busbars after lanes are valid, then export manufacturing files and reports.
What changed from the old docs
The old guide described the classic split editor with a preview tab and right drawer. The current path is the v2 project workspace with six top-level tabs: Geometry, Case, Spacers & Layout, Series, Busbars, and Export.
Guides
Projects
->Create, open, duplicate, rename, search, sort, and delete saved designs from My Designs.
Workspace
->Understand the v2 tabs, top bar controls, floating panels, autosave, status bar, and series lock.
Targets & Cells
->Set series and parallel goals, choose a cell, add custom cells, and read live pack specs.
Geometry
->Trace the pack footprint, scale length and width, set depth, and verify available cell slots.
Case Editor
->Configure printed, panelized, or bossed cases with lids, panels, keep-outs, cutouts, mounts, and imports.
Layout & Spacers
->Tune hex or rectangular packing, spacing, spacer lips, layer gaps, plates, and busbar pockets.
Series Wiring
->Paint contiguous series lanes, use stats to find weak spots, and lock the wiring before exports.
Busbars
->Add busbar layers, set cap openings, flip sides per layer, manage folds, and export flat patterns.
Exports & Reports
->Download case, panel, spacer, and busbar files, then inspect electrical reports and sag estimates.
Good design checkpoints
- The selected cell spec matches the real cell diameter, height, voltage, capacity, and resistance you plan to use.
- The envelope depth leaves room for cell height, layer gaps, spacer lips, busbar pockets, case walls, and clearance.
- Case keep-outs and imports are in place before series wiring is locked.
- Every series group reaches the target parallel count and remains contiguous on each layer.
- Busbar exports are configured only after series stats show valid adjacent links or intentional bridges.
- STEP files are reviewed in CAD/CAM and STL files are checked in the slicer before fabrication.
Use-case guides
Light EV battery planning
->Frame-fit packs, service access, cable exits, and enclosure details for e-bikes, scooters, and similar builds.
E-moto battery planning
->Removable pack checks, vibration, retention, chassis constraints, and service lid planning for light motorcycles.
Drone battery planning
->Constrained bays, payload packaging, endurance pack tradeoffs, and export considerations for UAV builds.